Mat Gilfedder
Don’t hesitate when you see action unfold
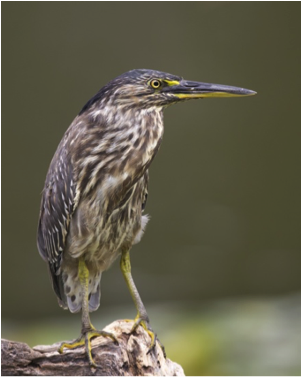
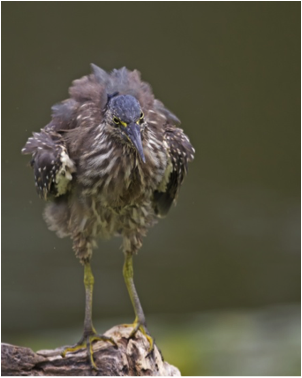
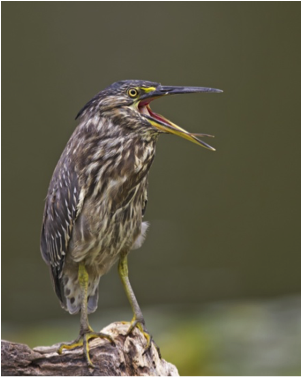
Stationary birds can be beautiful, so if you have taken some nice portraits, and then your subject moves suddenly, a rewarding first reaction is to quickly fire off a few frames. You never know what might happen…
John van Dort
Photo tips for bridge cameras
If you’re like me, you’re a birder first and a photographer second. You don’t mind getting a great photo every now and then, but you don’t let photography get in the way of your birding either. If this is you, then you may have what is called a bridge camera—something that’s a little fancier than what’s suggested by the pejorative term “point-and-shoot”, yet something less advanced or complicated if you will than a Digital SLR camera.
Most of my bird photography is for documentation purposes. If I see a rare bird, I generally try to take a photograph. This usually means acting fast, so I generally don’t spend much time thinking about my settings. A few key setting I do take into account.
Tip 1:
Avoid AUTO. When I’m in the field, I don’t want to spend too much time thinking about which settings would be optimal for a certain photo. But I don’t want to ‘go auto’ all the way either and leave all the thinking up to the camera, because the camera can’t always get it right. For example, few cameras get the results you desire with ‘auto white balance’, and especially sky backgrounds can come out looking unnatural. So I avoid the Auto setting and use the P-setting instead, selecting ‘sunny’ when it’s sunny, and ‘cloudy’ when it’s cloudy. The latter will provide your photo with just that extra little bit of saturation when mother nature didn’t provide the best possible lighting.
Tip 2:
Underexpose a dark background. It’s late summer, the sun is out, and you’re looking at some shorebirds on a mudflat. When taking photos of these birds, the dark surface of the mudflat can cause your camera to adjust the lighting, resulting in photos of a lighter mudflat with bleached out shorebirds on it. Try underexposing your photo for a more naturally dark-looking mudflat with properly lighted shorebirds. Same thing holds in a low-light, dense forest situation.
Tip 3:
Auto focus on equidistant objects. Many bridge cameras have autofocus, but it’s usually not easily reached, and often requires flipping a switch somewhere and then turning a wheel on the back of the camera. If your object is a mushroom then that’s fine, but not if it’s a bird. What you want to do if your camera keeps focusing on a more contrasting pattern behind your bird is look around for a contrasting subject the same distance from you as your bird but without other, more contrasting items closer or further than your bird in the frame. The bark of a tree might work, for example. Focus on that, then keep the shutter pressed halfway and return to your bird in the middle of the frame. The next step is to let your shutter go briefly, so the camera can get the proper lighting for the bird not the bark situation, and then press again halfway to let it focus. It will now focus on your bird, because that is the first object it encounters when searching for focus.
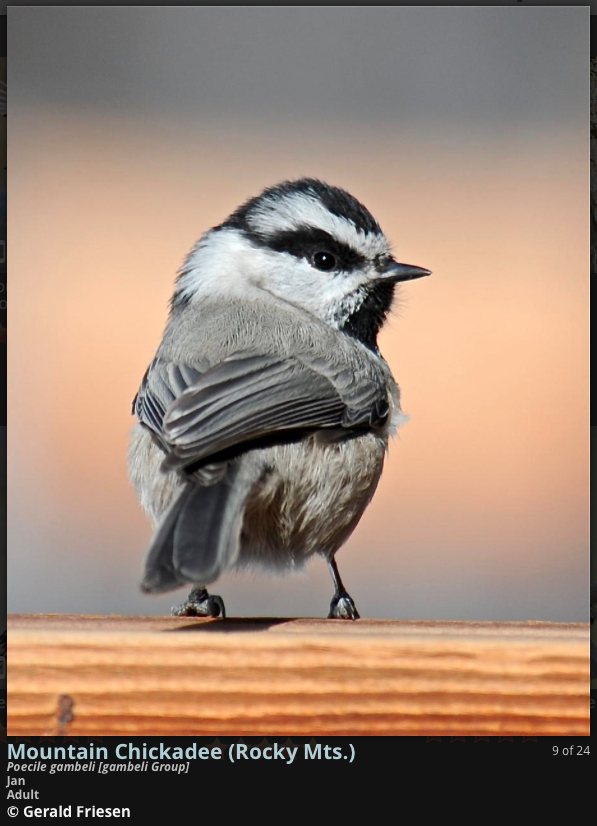
Gerald Friesen
Focus Tip
My Nikon D4 has a feature in custom settings called “Focus Tracking with Lock-on”. When the distance of a bird changes, even slightly, the AF waits a specified period (on a scale of 1 to 5) before refocusing. Birds move. If you’re focused on the head, which you should be, and if the bird suddenly lifts it’s head, warbles it’s throat and starts singing, with Focus Tracking ON you’ll get a period of time, however brief, out of focus. If you just happen to be firing 6-10 fps at that very spit-second, it’s not really a problem — one of those frames should grab. Who’s that lucky? I find it wise to turn Focus Tracking OFF. AF will adjust faster with negligible time delay. Focus Tracking OFF is also ideal when you’re shooting a series of birds, in quick succession, at varying distances. Like when shooting hummingbirds buzzing around a feeder or a flock tree sitting. You can pop from one bird to another with reduced AF delay. I find Focus Tracking OFF also yields superior clarity on flight shots. It should go without saying you also need to be in AF “Continuous Mode” and have your metering center weighted.
[Note:To me tack-sharp focus is first, lighting is second, composition is third. I always manually adjust shutter speed, f stop, metering/focal area and exposure compensation on the fly – that’s the much more difficult lighting and composition side. 10% with all three in synch, without a bloody branch through the bird, I’m ecstatic.]

